

Materials and the Definitions panel
Everything in a fluid model is measured in the unit of the material it handles, so the material comes first. A tank has no meaningful capacity, and a pipe no meaningful rate, until the product knows whether you mean gallons, liters or kilograms.
The Definitions panel
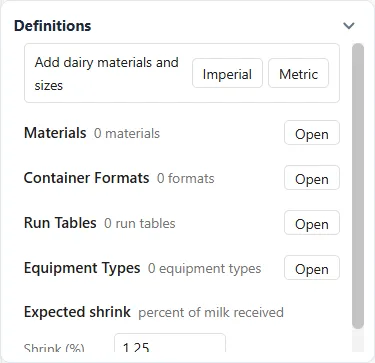
Section titled “The Definitions panel”With the industry palette open, a Definitions card appears on the right. It opens with the row Add dairy materials and sizes, then Clean Groups and Setup Groups if the model has them, then Materials. It stays up with the palette closed once the model holds materials, formats or tanks.
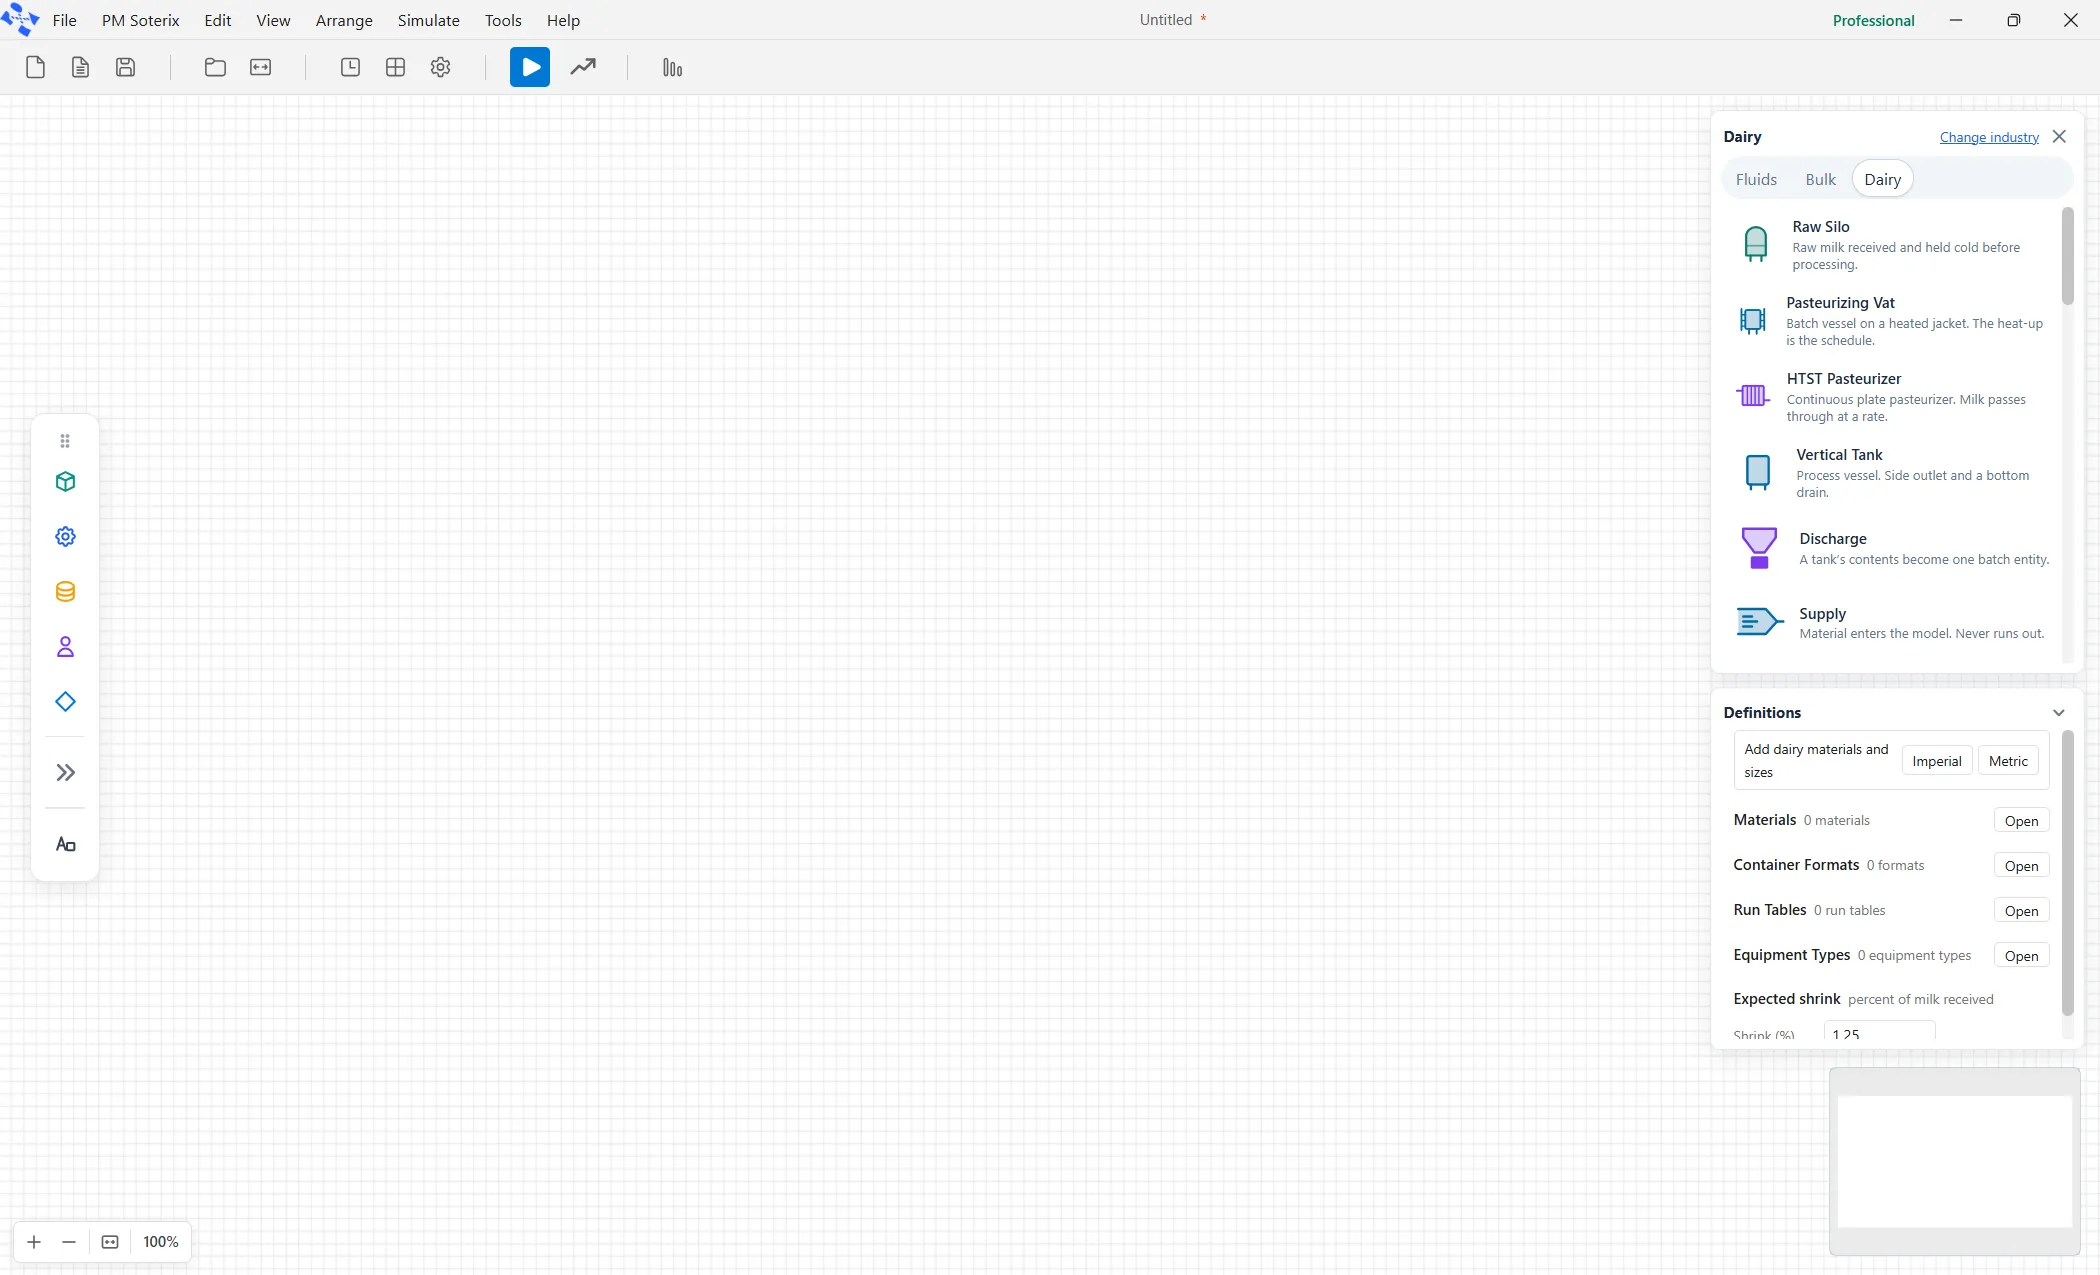
Each kind of definition has one line on the card: its name, how many of it the model holds, and an Open button that opens it in a window of its own. The kinds are Materials, Container Formats, Run Tables and Equipment Types, in that order. The card hides them under the Software and Emergency Department views unless the model already holds one.
Under a kind’s line, each item has a line of its own with one fact: a material’s unit or density, a format’s size, a run table’s rows, or the number of elements that use an equipment type. Click a line to open the window on that item. A warning mark on a material or a run table means it has something to fix. Materials and Container Formats share one window, Materials and Container Formats, described below. The other two have articles of their own: Run Tables and Equipment Types. On the Software face the card also has a Work Table line, with a window of its own: see The Work Table.
The last row of the card is Expected shrink: the percent of milk a plant expects to lose between the receiving bay and the case, as a percent of what is received. It is a planning figure, set in the Shrink (%) box, from 0 to 25 (the default is 1.25). It shows on every plant model, including a model with no industry and the dairy demos, and it is hidden under the Software and Emergency Department views.

Declaring a material
Section titled “Declaring a material”The Materials section shows a count, one line per material and an Open button. Click Open, and the Materials and Container Formats window opens, with New, Paste and Import file along the top. Click New. Type the name, such as Raw Milk. Choose the unit from the dropdown, such as US gallons (gal).
That is all a simple model needs. The other boxes, density, value and cost per gallon, and specific heat, are for models that weigh their material, price it, or heat it. Leave them empty otherwise.
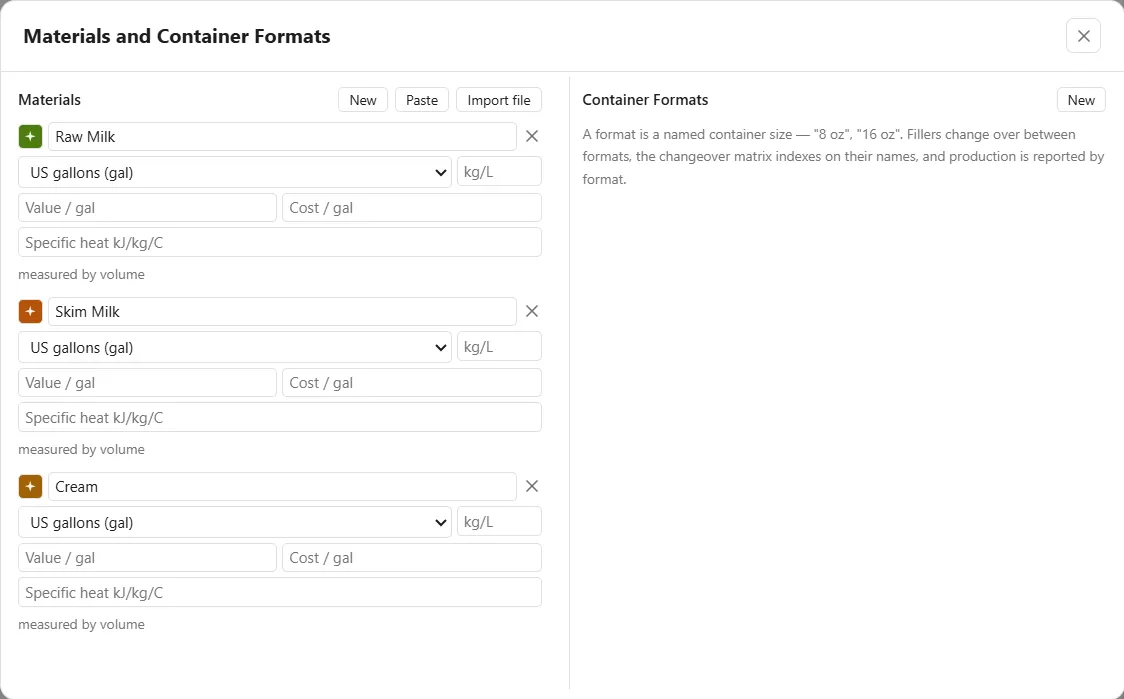
The window has two halves: Materials on the left, and Container Formats on the right, because a format is a size a material is packed in. Paste reads a list of materials from a spreadsheet, and Import file reads one from a CSV or Excel file. Each shows what it found in a preview, and nothing lands until you press Add N rows, as it does for The Work Table. Like the other Definitions windows, it has no OK and no Cancel: every change is already in the model, Ctrl+Z takes it back, and the X or Esc closes it.
One unit, everywhere
Section titled “One unit, everywhere”An operation that mixes dimensions is refused rather than guessed. Liters cannot flow into a vessel measured in kilograms without a density to bridge them, so the product stops and asks instead of inventing a conversion.
Container formats
Section titled “Container formats”A format is a named container size, such as 8 oz or 16 oz. On the right of the Materials and Container Formats window, New adds one. Give it a name, a size and a unit. The size is a number or the name of a variable, and the format carries its own unit, so it is converted for you. Fillers change over between formats, the changeover matrix and the run list read their names, and production is reported by format. Name a size once here and use the name everywhere. See Filler.
A ready-made set
Section titled “A ready-made set”The top row of the Definitions card, Add dairy materials and sizes, has Imperial and Metric buttons. It shows on every model that is not under a lens, Fluids and Bulk included. Either button drops in a ready-made set of dairy fluids and retail pack sizes in one consistent system. It is a shortcut worth knowing; a model that needs only one material just types it.