

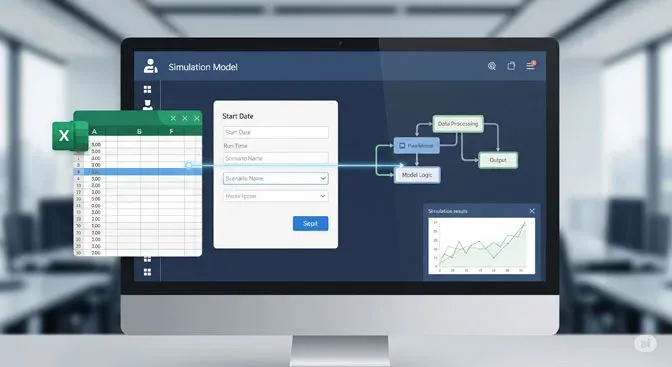
A key to successful process improvement is making your models easy to reach and easy to update. A custom interface for your process simulation model simplifies complex changes, gives users a friendly experience, and protects the integrity of your detailed logic. This article walks through creating one with a free template, so you can empower users and speed up your process optimization work.
Why a custom interface matters for process analysis
A custom interface is really about giving people one simple entry point for making complex changes to a model. It hides the internals and lets users make adjustments in a format they already understand. We have found custom interfaces invaluable for several things:
- Sales support. Sales teams who may lack technical skills can use a model to predict the results of different product configurations.
- Repeated analysis. Running the same “what-if” analysis again and again is fast, even when the underlying changes would be slow and complex to make by hand.
- Managerial experimentation. Managers get a sandbox to try different scenarios without any formal process simulation training.
- Model integrity. The core logic stays isolated, so end users cannot accidentally corrupt detailed formulas or code.
- Simpler inputs. A complex formula or distribution, such as a D5 distribution, becomes a simple, readable table.
Is a custom interface hard to build?
The short answer is no. You do not need to be a scripting or spreadsheet expert. A simple interface can be built in a few minutes, linking several factors to your ProcessModel simulation. We have done the hard part by creating a free template that automates the mechanics, so you can focus on the content of your interface rather than the technical details.
Key features and benefits
A well-designed interface is more than a data entry form. It is a tool for improving both model accuracy and the user’s experience.
- Simplified inputs. An interface can turn a complicated distribution string, like
D5(20,3.1,20,6,20,7.8,13,9.3,27,10.8), into a plain table. That makes it easy for anyone to update, which reduces errors and saves time. - Built-in error checking. Bulk data imports can introduce errors quickly. A custom interface validates every entry before it is imported, so you can confirm values fall in a reasonable range or that percentages sum to 100%, and stop the import when something is wrong.
- Dynamic menus. You can add a layer of intelligence so that dependent fields or menus appear only when earlier selections call for them.
Steps to create a ProcessModel custom interface
Building your interface is a straightforward process.
- Start with a validated model. Begin with a process simulation model you have thoroughly validated and verified.
- Organize your files. Save the model and the interface template together in a new, dedicated folder. This prevents file confusion and simplifies linking.
- Use the template. Place the free ProcessModel custom interface template in that same folder.
- Define scenario parameters. Use scenario parameters to mark every value in the model you want to change from the interface. Scenario parameters are simple text replacements that can control almost any aspect of a model.
- Export and copy data. Export the model’s scenario data, then copy the scenario names and values into the template’s designated sheet.
- Design the interface. On the ScenarioInput tab, lay out a friendly interface. Use clear headings, consistent colors, and a logical layout to guide the user.
- Link the interface to the model. Connect the input fields to the matching scenario parameters in the template, which then formats the data for a clean import.
- Automate the run. The template includes a button that transfers the data from your interface to the model and runs the simulation in a few seconds.
Follow these steps and you will have a powerful, easy-to-use interface that streamlines your analysis. If you are still getting comfortable with the underlying model, the step-by-step guide to building models is a good companion, and you can always explore what ProcessModel can do.