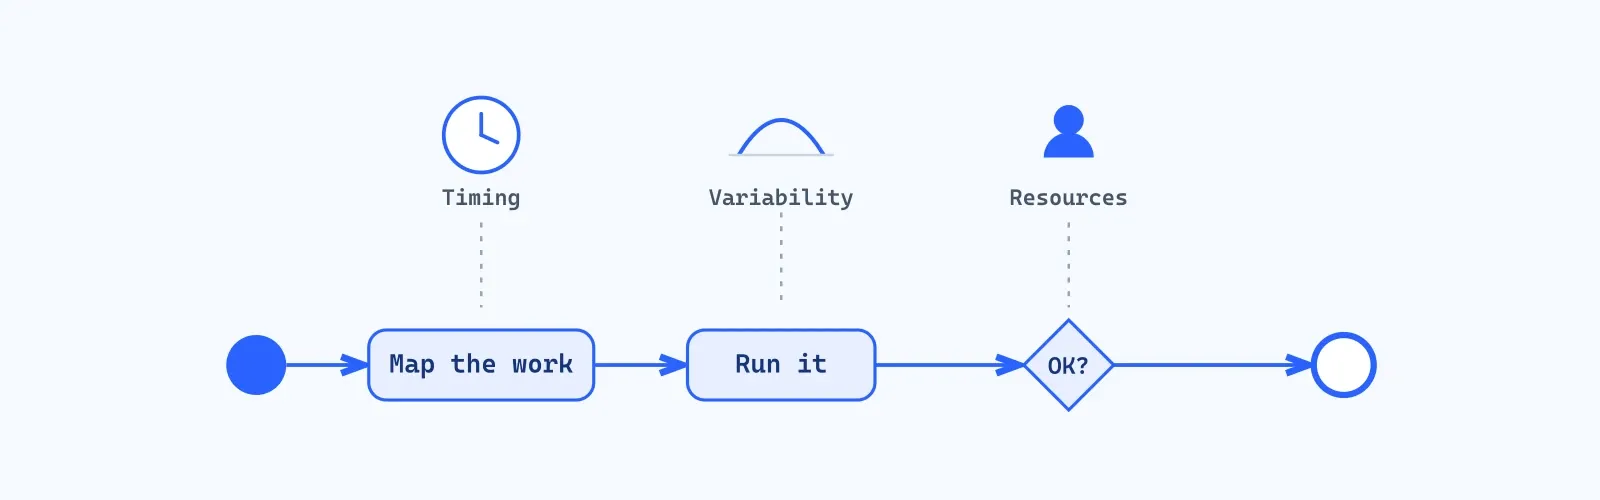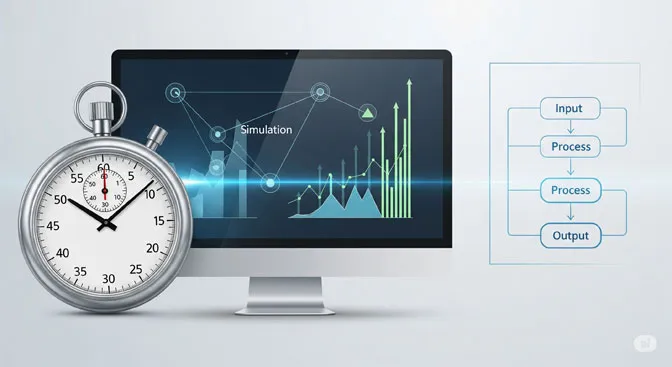

The first step in building a business process simulation is making sure the overall flow is correct. Developing the flow first means walking through the process with a process expert in a controlled setting. The article How to gather the right information in a flash covers that data collection in detail. Once you have gathered the information, go back to your computer and use it to create a flow diagram, but with a twist: this flow diagram has to work. Build this flow-only model before you add any other detail. It will help you find issues in the process and make the necessary adjustments before you go any further.
Animate the model
Once you have a flow-only model, the next step is to animate the flow. Animation forces you to work out the details. Because everything has to work, there are no “and then the magic happens” sections. Flaws become obvious.
Your ability to ask the right questions improves. A couple of simple tricks make the animation-only model more useful, and these apply to the animation-only model only. First, change the move time on routes relative to their length. Routes default to one minute, so a path ten times longer could be set to ten minutes. This small change makes the animation easier to follow. Second, put enough time between arrivals so that only one entity at a time runs through the process. Use the periodic arrival and set the time between arrivals large enough to meet the need.
You might ask, “I am building a business process simulation, so why would I create an animation-only model?” Good question. Because building the animation-only model first saves you a great deal of time. The flow is the foundation of the model. If you have not built the foundation properly, you will rework the model after investing significant effort. Get the foundation right, and the rest of the build is simple.
Simplify and correct
After creating the animated model, bring in the process experts and secure their approval. Reviewing the animated model with them will usually surface changes, additions, or simplifications. Make those adjustments, then review a second time to confirm the model is accurate and complete. When it is correct, print it and have the process experts sign it. The signature helps the expert remember their contribution in a future meeting and avoids a manager later saying “that is not the process.”
Do not forget to save the animation-only model for future use. It is helpful in meetings and in gaining support for participation.
Timing and capacities
Once the foundation is finalized, enter the timing and the appropriate capacities for each step. This round of entries includes input and output queues and any necessary model logic.
Use actual data, when possible, to create time distributions for processing steps. Stat::Fit is a powerful tool for turning raw data into distributions.
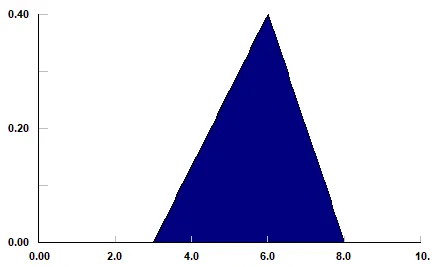
When data is unavailable and you have to estimate, use a triangular distribution as a starting point. You can ask three questions to uncover the range of work times:
-
What is the least amount of time required to perform this operation?
-
How long does it usually take to complete this operation?
-
What is the longest time required to complete this operation? (Work content only.)
A triangular distribution might look like T(3,6,8). See the graphical depiction below.
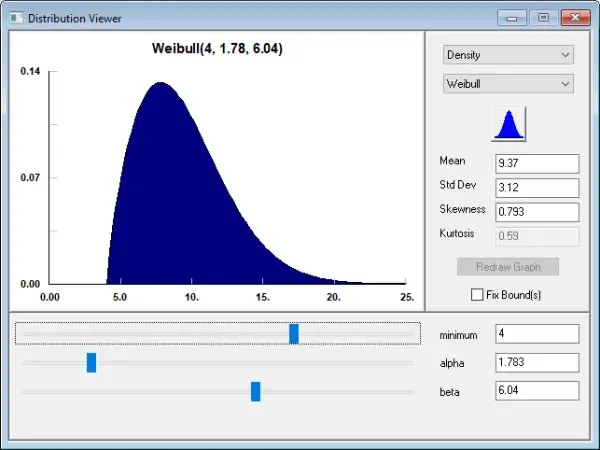
If a triangular distribution does not fit the requirement, Stat::Fit has a feature called the Distribution Viewer that helps represent times better. For example, suppose the three questions gave you these answers:
-
Least amount of time: 4 hours
-
Most likely time: 9 hours
-
Longest time: 25 hours
-
But experience has shown the times to be heavily skewed to the left.
You could select and modify a more appropriate distribution using the Distribution Viewer. First, find it from the Utilities menu by choosing Distribution Viewer. Next, select a distribution and manipulate the parameters to more accurately estimate the times in your system. The Distribution Viewer shows an example:
Arrivals
The next step is to add realistic arrivals that reflect how entities actually enter the process. Most companies use one of two patterns: arrivals that form a repeating pattern, and historical data read into the model. Both are fast and simple to recreate in ProcessModel. Within a couple of minutes, raw data converts to patterns or imports. Good arrivals make the model more realistic and accurate.

Resources
The final step is to enter and assign all the resources the process needs, including shifts, availability, and assignments. Allocating resources is often one of the most complex parts of building a model, which is exactly why you should not attempt it in the first stage. Make the foundation secure before you add complex structures that depend on it.
ProcessModel includes extensive resource assignment capabilities to capture the intricacies of employee skill levels, speed of completing tasks, error rates, and shift assignments.
Verify and validate
Verify and validate the model to make sure it is correct and complete. These steps might include the following:
A. Check the model against the real-world process it is meant to represent. You have taken the word of the process experts; now you need eyes on the process. Look for discrepancies between the model and the actual process, and adjust the model so that it is accurate.
B. Compare the results of the simulation to actual data from the real-world process. In a large process, several key performance indicators may be available for comparison. A correction might be as simple as adjusting a distribution that estimates times or quantities. In other cases, the output statistics help you uncover information the experts would rather hide, because statistics do not lie.
C. Review the model with additional experts familiar with the process. They can help identify errors or inconsistencies and suggest ways to improve it.
D. Test the model by running multiple simulations with different scenarios and inputs. Stress testing helps make sure the model can accurately predict the outcomes of different situations.
By following these steps, you can build a simulation more efficiently and effectively, with far less backtracking and rework.
Want to experience building a model yourself? Start a free trial. Would you like help building a simulation of your process? Request a call from a representative. And when you are ready, read the article on how to gather the right information to build your process model.