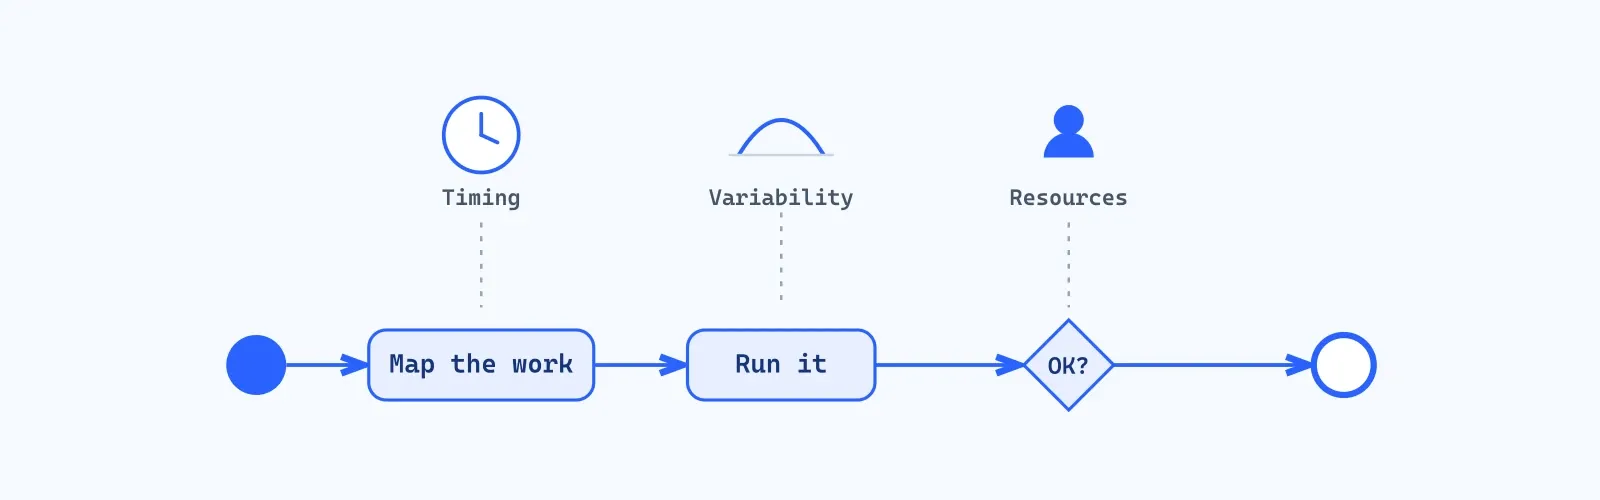

Wondering how to capture your organization’s knowledge, experience, and procedures into a process model without accidentally setting everything on fire? Look no further. We at ProcessModel have facilitated process improvement projects for a great many customers in a huge variety of environments, and we have learned a thing or two about capturing processes correctly.
So grab a seat and a pen (or a laptop, if you are feeling fancy) and get ready to learn the ins and outs of running a process capture workshop like a pro. Trust us, it is not as hard as it sounds. Just add water and stir, and you will be well on your way to process modeling mastery.
Capturing a business process
The best approach, or how to transform your grey matter into shiny process models.
Before the meeting
Want to make your process discovery workshop a success? It starts with some good old fashioned preparation. Here is what you need to do:
-
Nail down the scope of the information and processes you want to model, or it will quickly get out of hand. For example, for this project the process starts with Sample Collection and ends with Results Posted.
-
Get the process owner’s blessing for your project and their support for team members to attend. Actually, that understates it. What needs to happen is that the process owner creates a “burning platform” message, the kind that says “if we do not put out the flames, we are all going to die.” Why so dramatic? Because you will be touching sensitive areas, and employees often do not feel comfortable sharing details. In their mind, you might point out a glaring inefficiency that costs them their job, or they already know about it and do not want it to change. Either way, make sure the leader sending the burning-platform message controls all of the departments in the process.
-
Hold your workshop to no more than 1 hour. Yes, you will have to be efficient, and we will show you some tricks to make it possible. The subject matter experts are essential, they will appreciate your effort to minimize their time, and we are about to give you some great tips.
-
Invite the subject matter experts from the business area you are modeling. Keep the number of attendees small, fewer than six people, to avoid chaos.
-
Send out an agenda and supporting information so everyone knows why they are invited, because people like to know what is happening. The last two items go in the same communication.
-
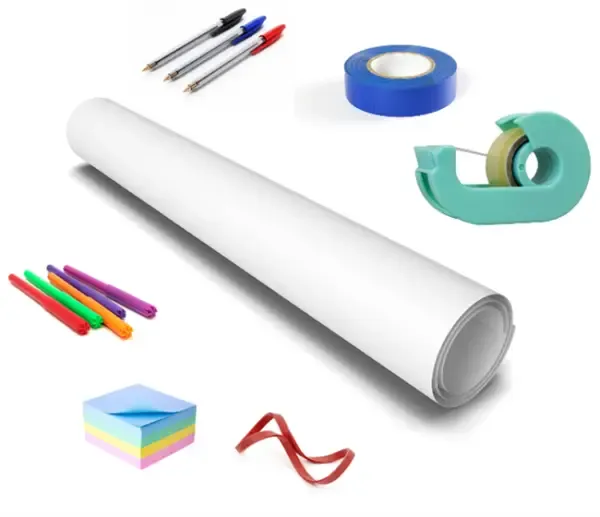
Grab a small box and collect your materials: painter’s tape (the blue stuff, it holds tight and leaves no residue), Scotch tape loaded in a dispenser, three colors of sticky notes (3 inch by 3 inch, at least five pads of each), felt-tipped pens, ballpoint pens, and two large pieces of paper (3 foot by 5 foot, rolled up and held with a rubber band so it does not get away from you). Get your computer ready to go.
Now, for the actual workshop
The purpose of the meeting is to drive process improvement by creating a model that captures the behavior of the current process, then using that model to simulate ideas that improve employees’ jobs and make the company more competitive. Your workshop is itself a model of how to collect the information that makes this improvement possible. It has to look like you have done this a hundred times, so you may want to practice. When you open your computer, ProcessModel should already be running with the proper model loaded. When you set up the room, look the part by being efficient in your movements.
Set out the equipment
Time to get crafty. Set down the computer and the box of goodies, then pull out your painter’s tape. Peel off four little strips and stick them to the back of your right hand like a pro. Grab a paper roll in your right hand and pop off the rubber band. Hold the roll with the loose end on the left and place it on the wall (or any other suitable surface). Roll out about three inches, then use your hand tape to secure the upper left corner. Do the same for the lower left corner. Next, roll out the paper and tape the upper right and lower right corners. Just like that, you have made an enormous mobile document in under 15 seconds without help. Now set out the rest of the box’s contents and you are ready for the warmups.
You might ask: you own a process modeling and simulation software company, so why are you suggesting paper and sticky notes? You will be using ProcessModel and simulation soon enough. In the meantime, a few tricks give you faster capture, parallel work, and excellent group participation that you cannot duplicate with one person on a computer. So we are going old school for the first phase. Read on and you will see what I mean.
Warmup
In less than 5 minutes, you need to accomplish the following:
-
Greet everyone and thank them for making themselves available.
-
Give an overview of the purpose: this specific process, improving it by creating a model that captures the current process’s behavior, then using that model to simulate ideas that enhance jobs and make the company more competitive. State the levels to which specific KPIs must change.
-
Show a completed simulation running in ProcessModel, then open the output. Go back to the layout. Note the wording on the model layout so they have an example of how things are described (short names).
-
Describe the purpose again: capture the process, and participate in the potential improvement, because they are the experts.
-
Explain the information and the level of detail needed for a process model.
Play the game
Capture the process using the following steps.
- Process flow: where things go and how long they take to process (work time). Only add detail if a later step needs it. For example, if the step Enter Customer Information has five fields and none of them change downstream processing, there is no need to break out a decision for each. But if one of the questions is “Have you ever committed a felony,” then you need to know the percentage of customers who answer YES, and you add the detailed steps that follow from a YES. Teach the experts to keep activity names short, using verb-noun descriptions wherever possible, and to use notes for extra detail. For example, an expert might want to write a long description like this:
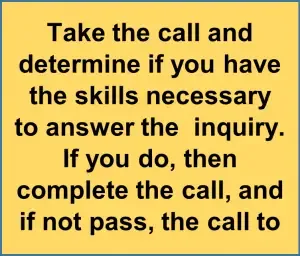
As a result of your workshop, they might change the activity name to this:

In the model diagram, many of the details become apparent on their own. For example, the model will display the percentage sent to support and the percentage exiting the system. Record any extra information with a ballpoint pen to help the modeling process. Write each step on a sticky note with a felt marker, add detail in pen if needed, and place the note on the “wallpaper” in approximate order. Let them know they can add or move things at any time. Turn the group loose for a few minutes and watch whether they are on the right track. Then stop, give feedback, and teach them the “happy path,” what happens most often. The happy path is the top line in the model. When they hit a decision, use a different color note to record it, then continue along the happy path. When the happy path is done, return to the first decision and follow the same pattern (a decision path can have its own decision). Completing one path at a time creates focus and reduces confusion. Once things are moving, you may need to ask questions to pull the group back on track or tackle a hard problem, but they will be engaged and will do most of the capture with little input from you. If different people know different parts of the process, consider working in two groups. You may even need to roll out a second sheet.
-
Draw the flow lines on the chart connecting the steps. Have the group establish the correct flow. Move or add steps as needed, then walk them through what they have done. Sometimes it takes a stranger talking through the process out loud to uncover flaws. Be gracious in your comments and careful in your corrections.
-
Does the system collect data for this step, and can you access it? Go through each step and identify whether the work time (or percentage) exists in electronic form. You are looking for raw data, not the total time something sat in the activity, but the work content. If there is data, write DATA on the note in pen. If you can access it, write YES after DATA. Either way, estimate the time for each activity by asking three questions:
-
What is the fastest time ever to complete this task (specify units)?
-
What is the most likely time to accomplish this task?
-
What is the longest it takes to do this task (count work content only)?
Write the time as T(Min, Mode, Max). Some people will say they cannot estimate the time. If so, have some fun with them. Ask, “do any of these items take a year of work to process?” Then walk them down: six months, one month, a week, twenty-four hours, until they agree on a reasonable time. Yes, they can estimate it. If the times are complex, such as different products taking longer or the time changing with the employee’s level of training, note which step needs that detail and who can supply it, and move on. You can collect it later.
-
Describe the arrivals: how and when do entities enter the process? Is there system-captured data with the date and time of arrival? It greatly simplifies conversion into ProcessModel if they have raw data including arrival date and time. Identify who can provide that data.
-
Resources used for each step: use a different color sticky note for resources. Is the resource a person, a group of people, or a piece of equipment? Draw lines from the resource note to the places where it is used. Put the resource’s name on the note with a felt pen and add detail in pen. If they do not know an answer, ask who would, note it on the wallpaper, and move on. How is the resource assigned across multiple activities? What shifts do resources work? Eventually you will need names, shifts, and wages, but see HR for the specifics; there is no need to get specific yet. If the assignments are complex, you can create a table later, so just note the complexity and who can provide the detail after the meeting. Is the resource full-time on this process, or available only a few times a week, and what percentage of their time goes to it?
-
What are the oddities in the process? Every process has unusual timings or behaviors. At ESPN, one step happened only on Tuesday at 3:00 PM. Another example is waiting until you have at least five entities before starting an activity. In rare cases you will find that they do not do things the same way each time. If no set process exists, document what they do most of the time and note the lack of standardization. Congratulations, you have just identified a significant improvement opportunity through standardization.
-
What KPIs exist for the process? You will need this information to test the model.
-
Contact information: what is the best way to reach each of them with questions? Have them write their name, phone, and email on a sticky note and tack it on the wallpaper.
Post-game huddle
Stop the meeting 8 minutes before it is supposed to end. Take 5 minutes to summarize the next steps, then use the last three minutes to pick up the equipment.
-
You are going to create the process and get their approval on the flow. Then you will set up another meeting to approve the flow and ask any unresolved questions.
-
You will complete the model and compare the output to actual KPIs.
-
You will then go through common strategies to review the current process, including ideas from the team.
-
Thank the group for their focused work and dismiss them.
Pick up the equipment
Look at you. You have collected complete information to create a process model that will stun your boss. The only problem is that if you move the paper now, all those sticky notes will pop off and leave you with nothing but tear stains. Never fear, Scotch tape is here. Before you move anything, lay a strip of Scotch tape over each sticky note to hold it down. Plan about 3 minutes to tape and roll the wall.
That is it. Now you can wander back to your desk, unroll the map, and everything will be in its proper place. It works every time.
When you are ready to turn that paper giant into a working model, see the step-by-step guide to building the model. And if you would like the people at ProcessModel to help you collect process information, train your experts, or build a process simulation, get in touch with us.